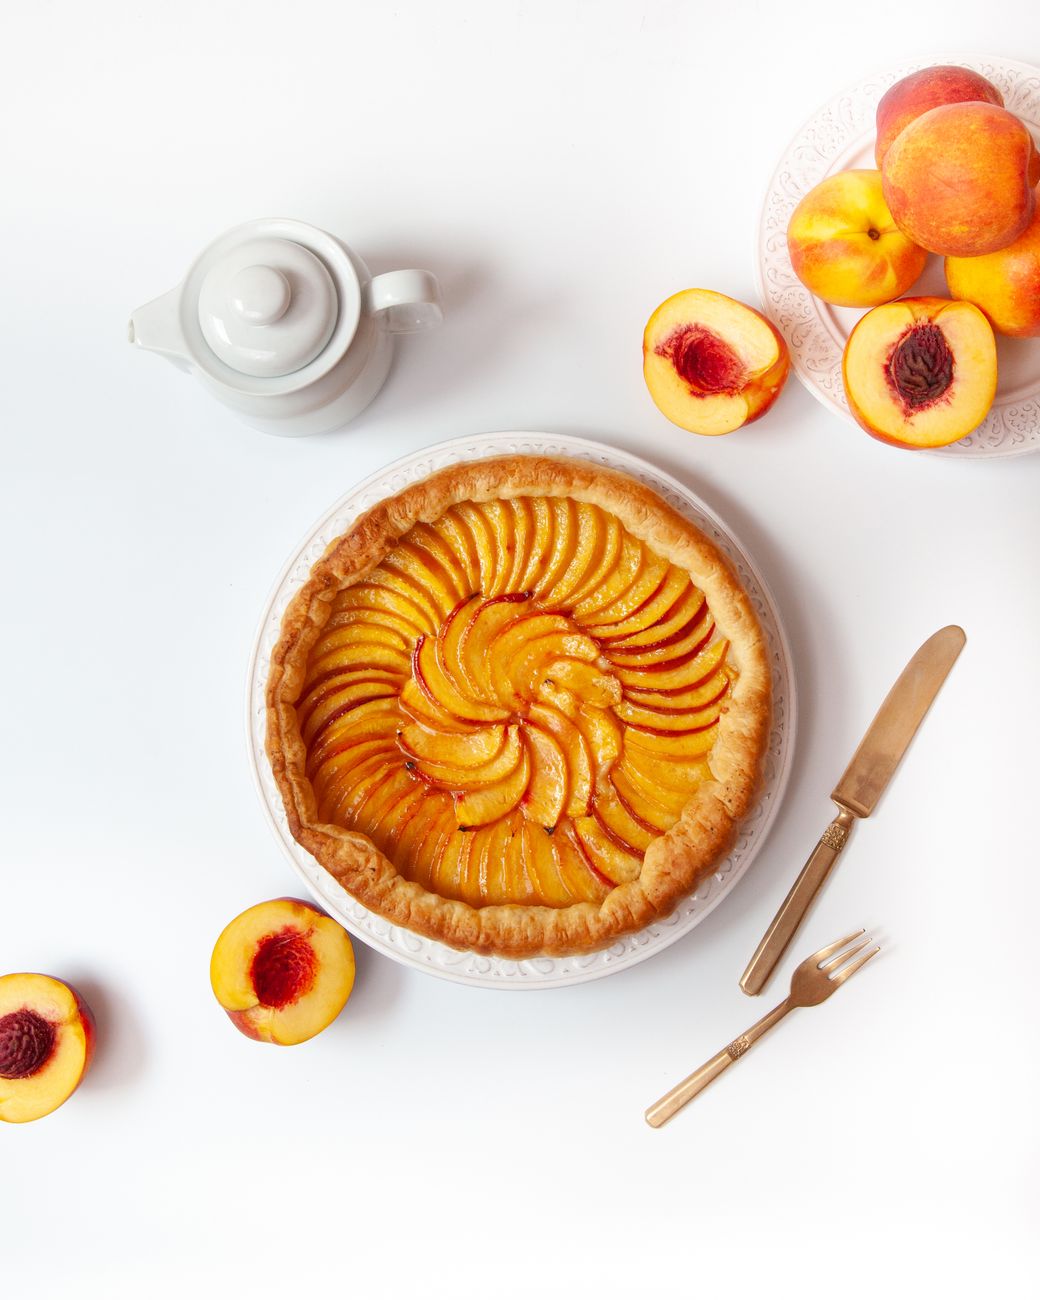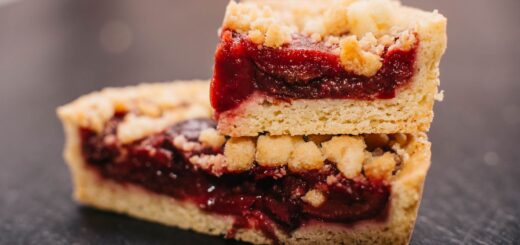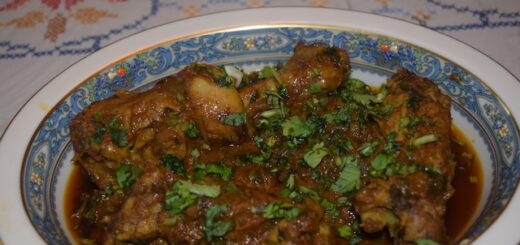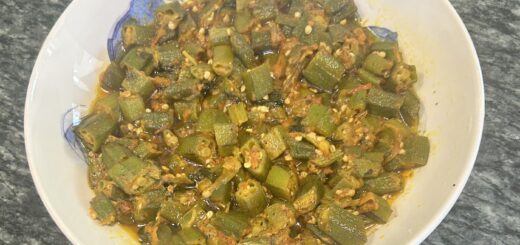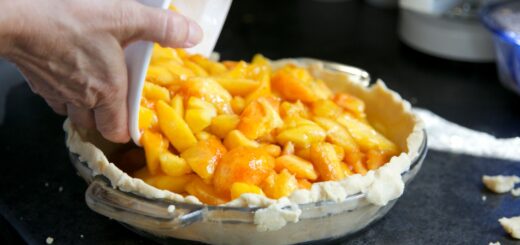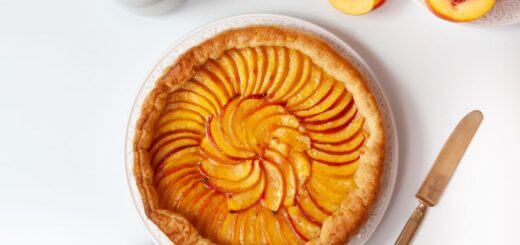

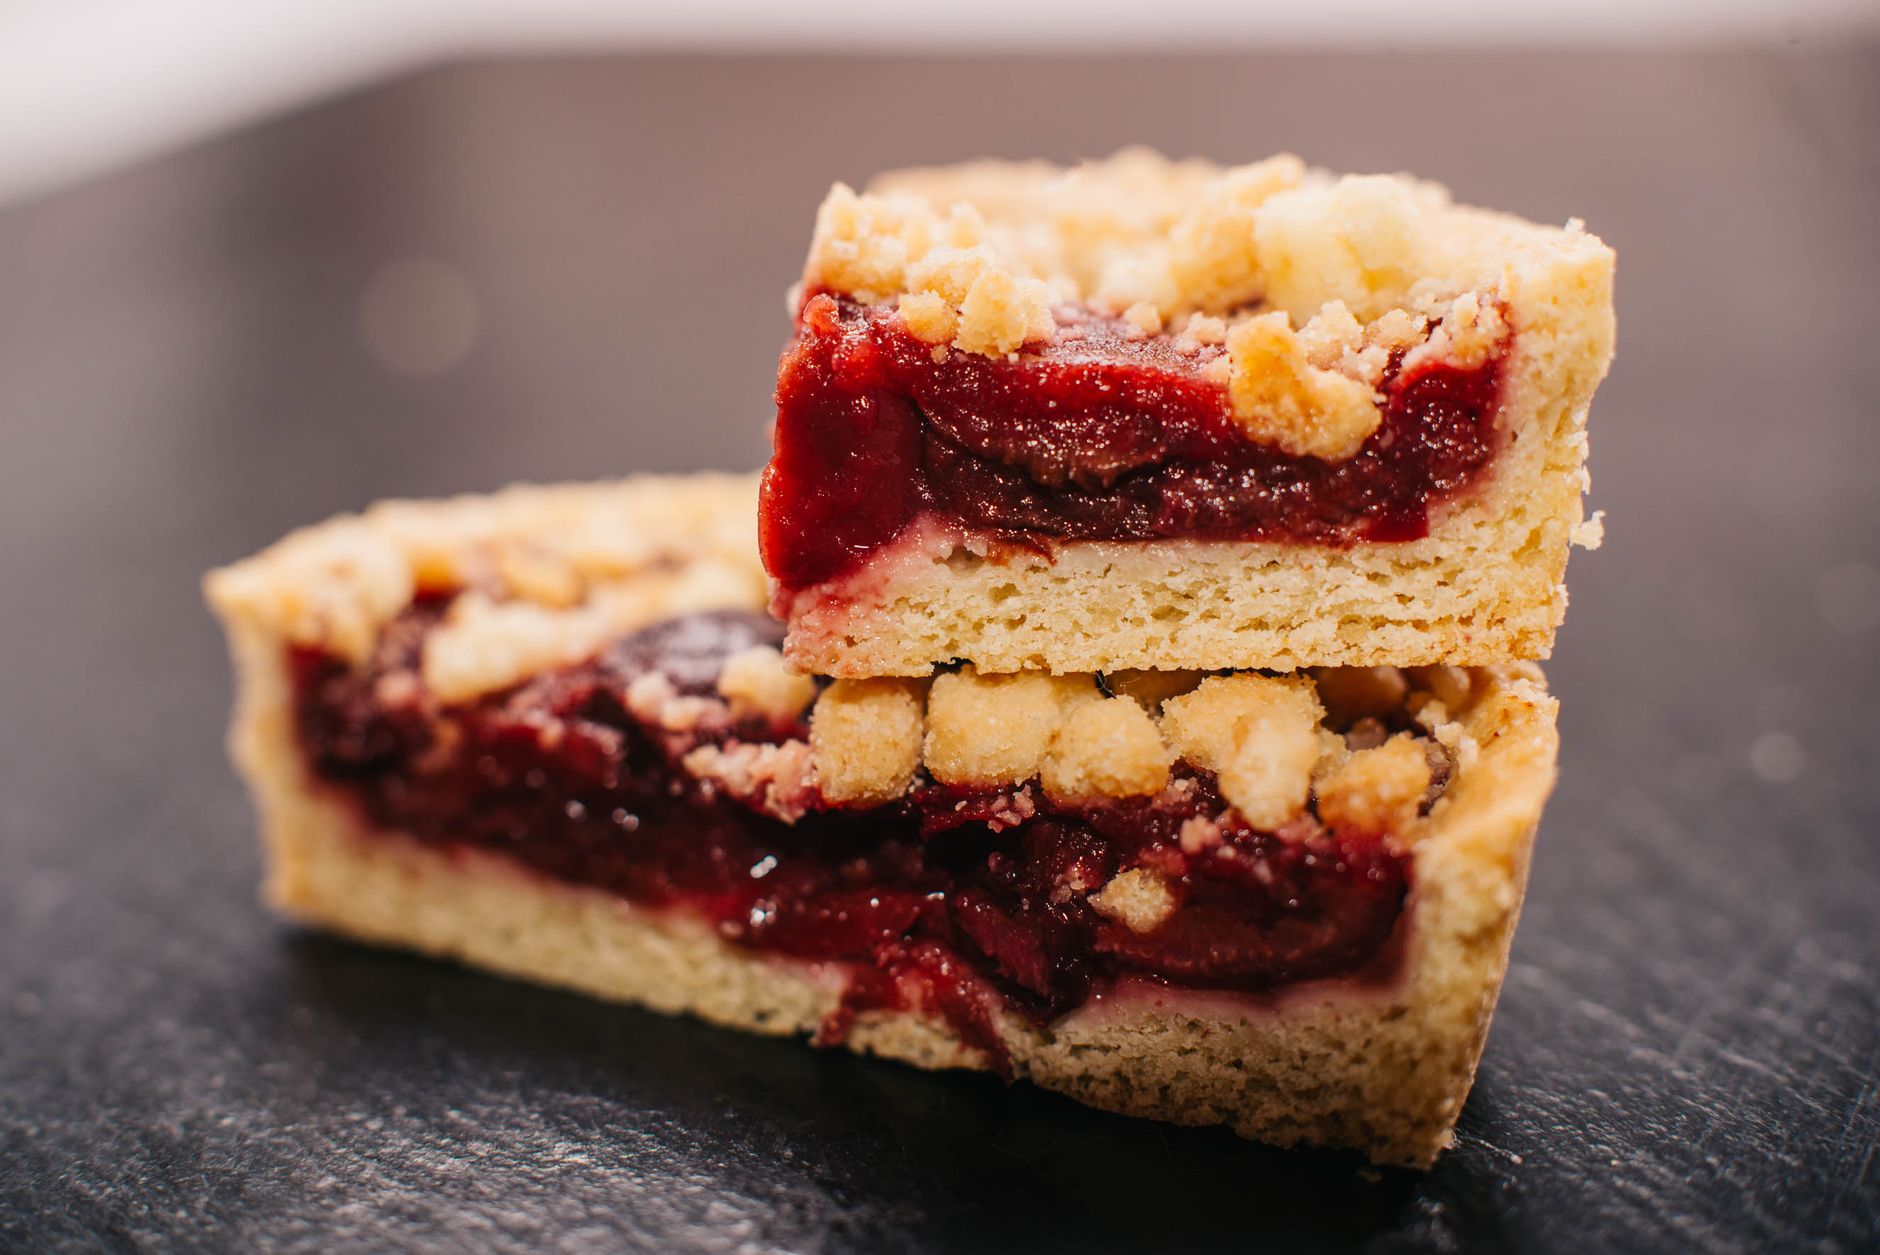
Grate 4 tablespoons of butter and put it in the freezer to keep it cold. Cut the remaining butter into small dice. In the food processor bowl, add wheat flour, sugar, and salt and pulse to incorporate.Add diced butter and process until a dough forms. Remove to a work surface and breakup the dough into small pieces and return it to the food processor bowl.Add 1 cup all-purpose flour, grated, frozen butter, and pulse until all the ingredients form a looser dough.Transfer to a large bowl and add ½ cup of the water and start mixing to incorporate all the ingredients. Add the remaining water and mix with a rubber spatula to get a smooth dough.Divide the into halves. Wrap each half in a plastic wrap after making the disc with help of the wrap. Let the dough chill for at least, two hours.
Meanwhile, wash and dry the plums. Cut each one along the equator and remove the pits. Cut into wedges for use in the pie.In a large bowl, toss with cornstarch, lemon zest, grated ginger, dried ginger, and salt. Add prepared plum wedges, and lemon juice to the bowl and toss to coat well. Set aside.Remove the prepared dough from the fridge and let it temper for easy rolling. Once the dough is ready, roll and line a 9-inch pie plate. Cover with plastic wrap and return to the refrigerator to chill. Meanwhile, roll the crust for the top and transfer it to a parchment paper-lined baking sheet and refrigerate until ready to use. Add the filling to the crust lined pie plate and brush the edges with the beaten egg.Top it with the top crust and brush with egg wash. Bake in 350°F preheated oven for 1 hour 10 minutes or until golden brown.Remove from the oven and let it cool on a rack until it comes to room temperature before cutting into it.
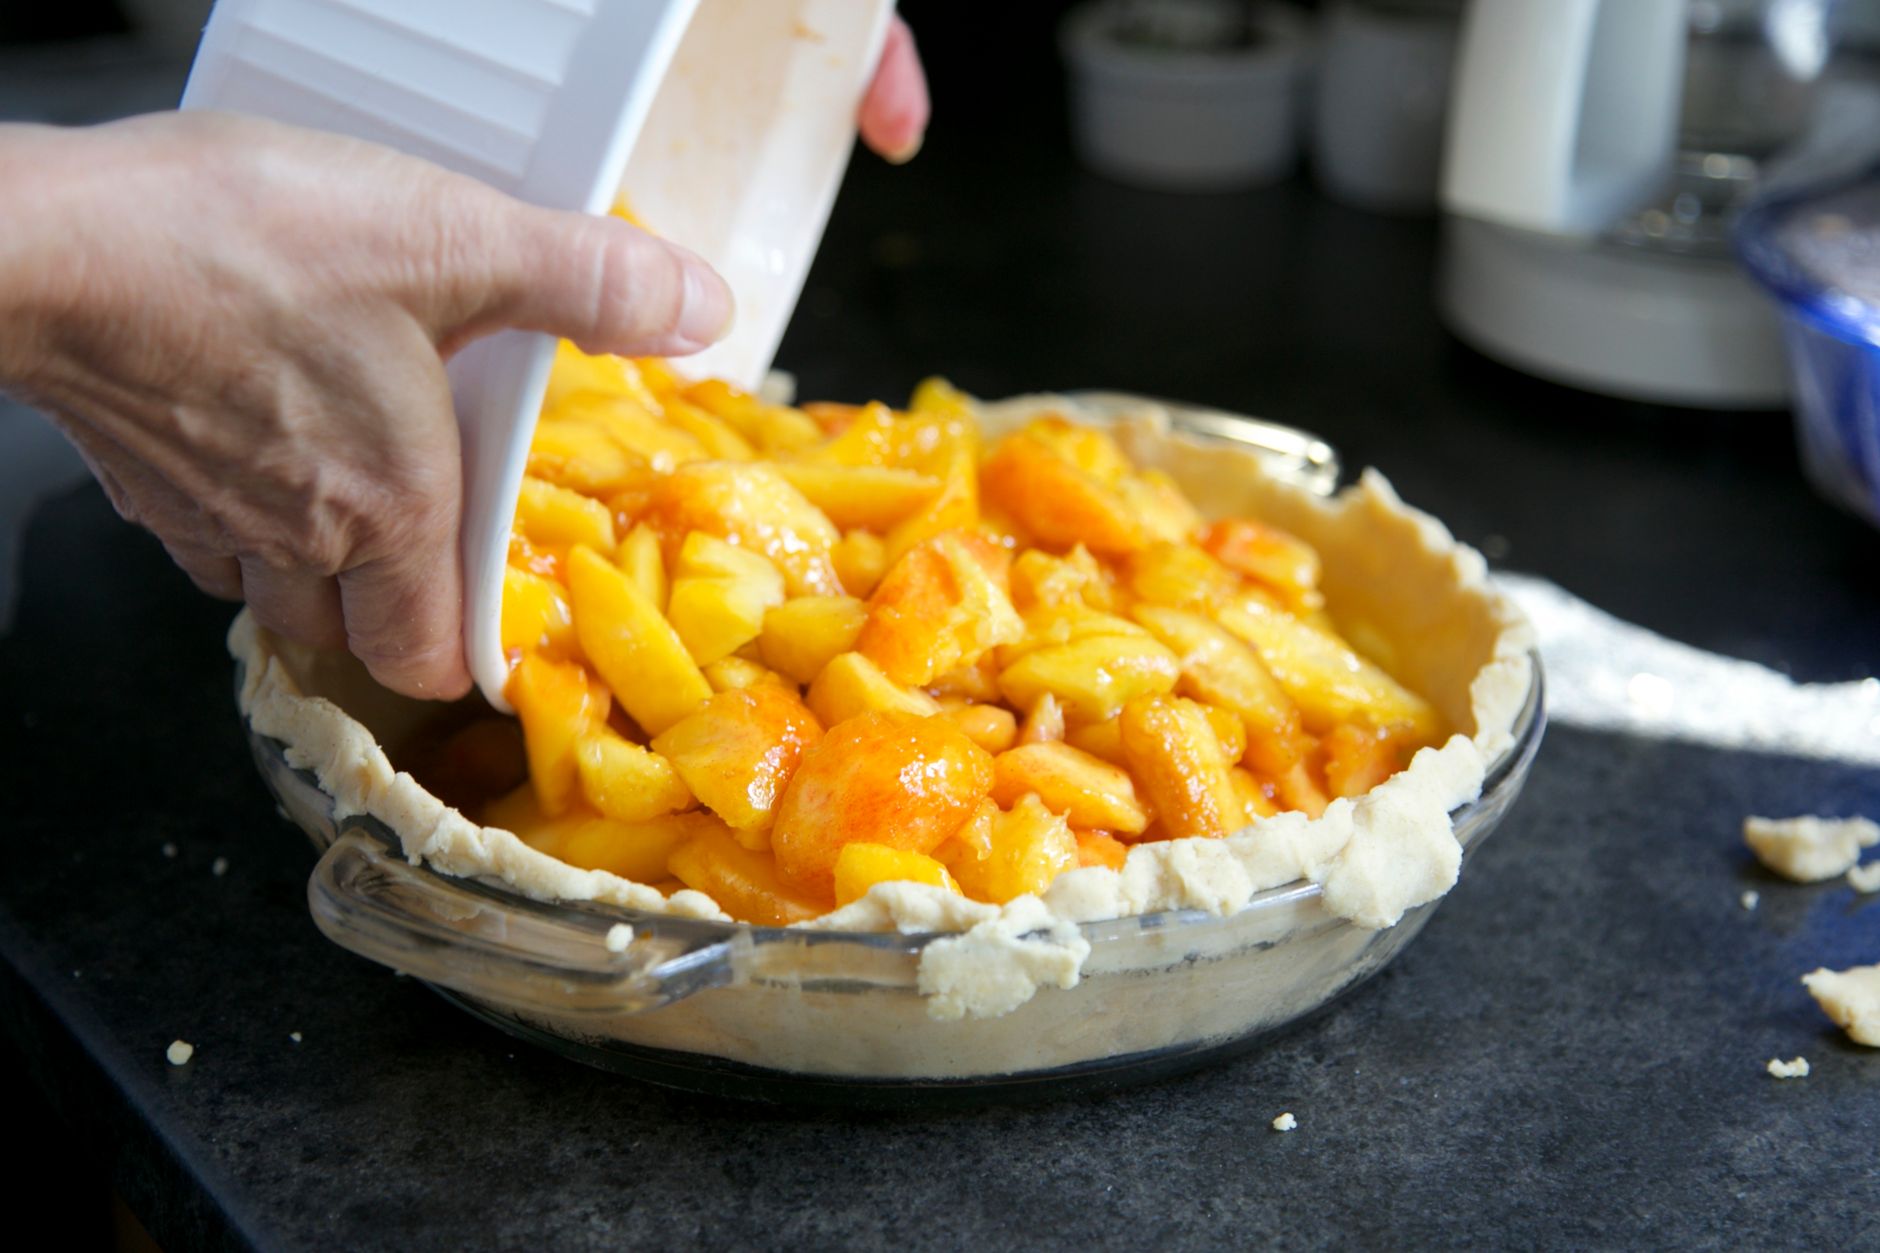
Preheat the oven to 375 degrees F. place the pecans in a food processor bowl and pulse until well ground. Add flour, sugar and salt and continue to pulse to incorporate well. At this point, add an egg and butter, pulse again until the mixture is a coarse and crumbly mix.Turn the mixture out into a 9” removable bottom tart pan and use a measuring cup to press the crumbly crust into the bottom and up the side as evenly as possible. It is better to have enough thickness to give it a body to hold together and form a ¼ inch border around when removed.For the pastry cream:Whisk milk and vanilla in a saucepan and bring it to simmer over medium heat stirring to make sure it does not stick. Meanwhile, in a medium bowl, beat egg yolks, sugar, and cornstarch into a smooth paste. When the milk is bubbly and simmering, start pouring in a thin stream into the egg mixture while stirring vigorously to prevent clumping until all the milk is used up. When it is tempered enough, transfer it back to the saucepan. Return to medium heat to bring it to a simmer while carefully stirring it to make sure it does not stick to the bottom. Continue for just over 2 minutes to a thick creamy consistence. Transfer to bowl, cover surface with a plastic wrap to cool before refrigerating for use later use.For the glaze:Combine jam and water in a small saucepan. Set over medium heat and stir to break up the lumps until smooth. Let it cook for couple of minutes and then set it aside.To assemble the Tart:Pour the pastry cream into the cooled tart and smooth it out. Arrange the prepared mango slices in a pattern of you desire working from the outside circumference in. Heat the glaze and stir before brushing on the tart. Once thoroughly glazed, put in the refrigerator to chill before serving.
Preheat oven to 400F/200C.Add flour, sugar, and diced, cold butter to a food processor bowl and process until the mixture resembles breadcrumbs. Transfer the mixture to work surface and bring the mixture together by pulling in all the flour and adding ice water in small amounts until it forms a dough. Knead it until it is smooth and soft. Press and shape it to a flattened disc and wrap it tightly and refrigerate for at least 30 minutes, or overnight before use.Roll out on a lightly floured surface and use cookie cutter of the cupcakes tins you are using to cut circles.First line cupcakes tins with cupcake paper liners. Put each pastry circle in the lined tin.Put one teaspoon strawberry or desired jam in each tin. Too much jam will ooze out.Bake tarts in the preheated oven for 20 to 30 minutes.Remove from oven and let them cool slightly before serving.
Lightly toast hazelnut in the oven for 10 minutes.
Once the nuts are done, remove from the oven and turn the oven up to 350°F
For the Crust:
Use a food processor to pulse ¾ cup of the toasted hazelnuts, (reserving 1/4 cup for the topping) the flour, sugar, and salt together until it resembles a coarse meal. Add cold, cubed butter and process until the butter is pea sized. Add 3 tablespoons ice water and pulse until the mixture starts to come together. Transfer it to a work surface and bring all the lose flour together with wet fingers making sure not to use too much water.
Transfer the mixture to a removable bottom 9-inch tart pan and press It down evenly in the bottom and bringing all the way up the sides using a lightly floured measuring cup.
The next step would be to blind bake it. To blind bake, line the crust with aluminum foil and fill with pie weights- I use chickpeas as pie weight and works perfectly. Bake for 10 to 12 minutes. Remove from the oven to a rack and let it to cool.
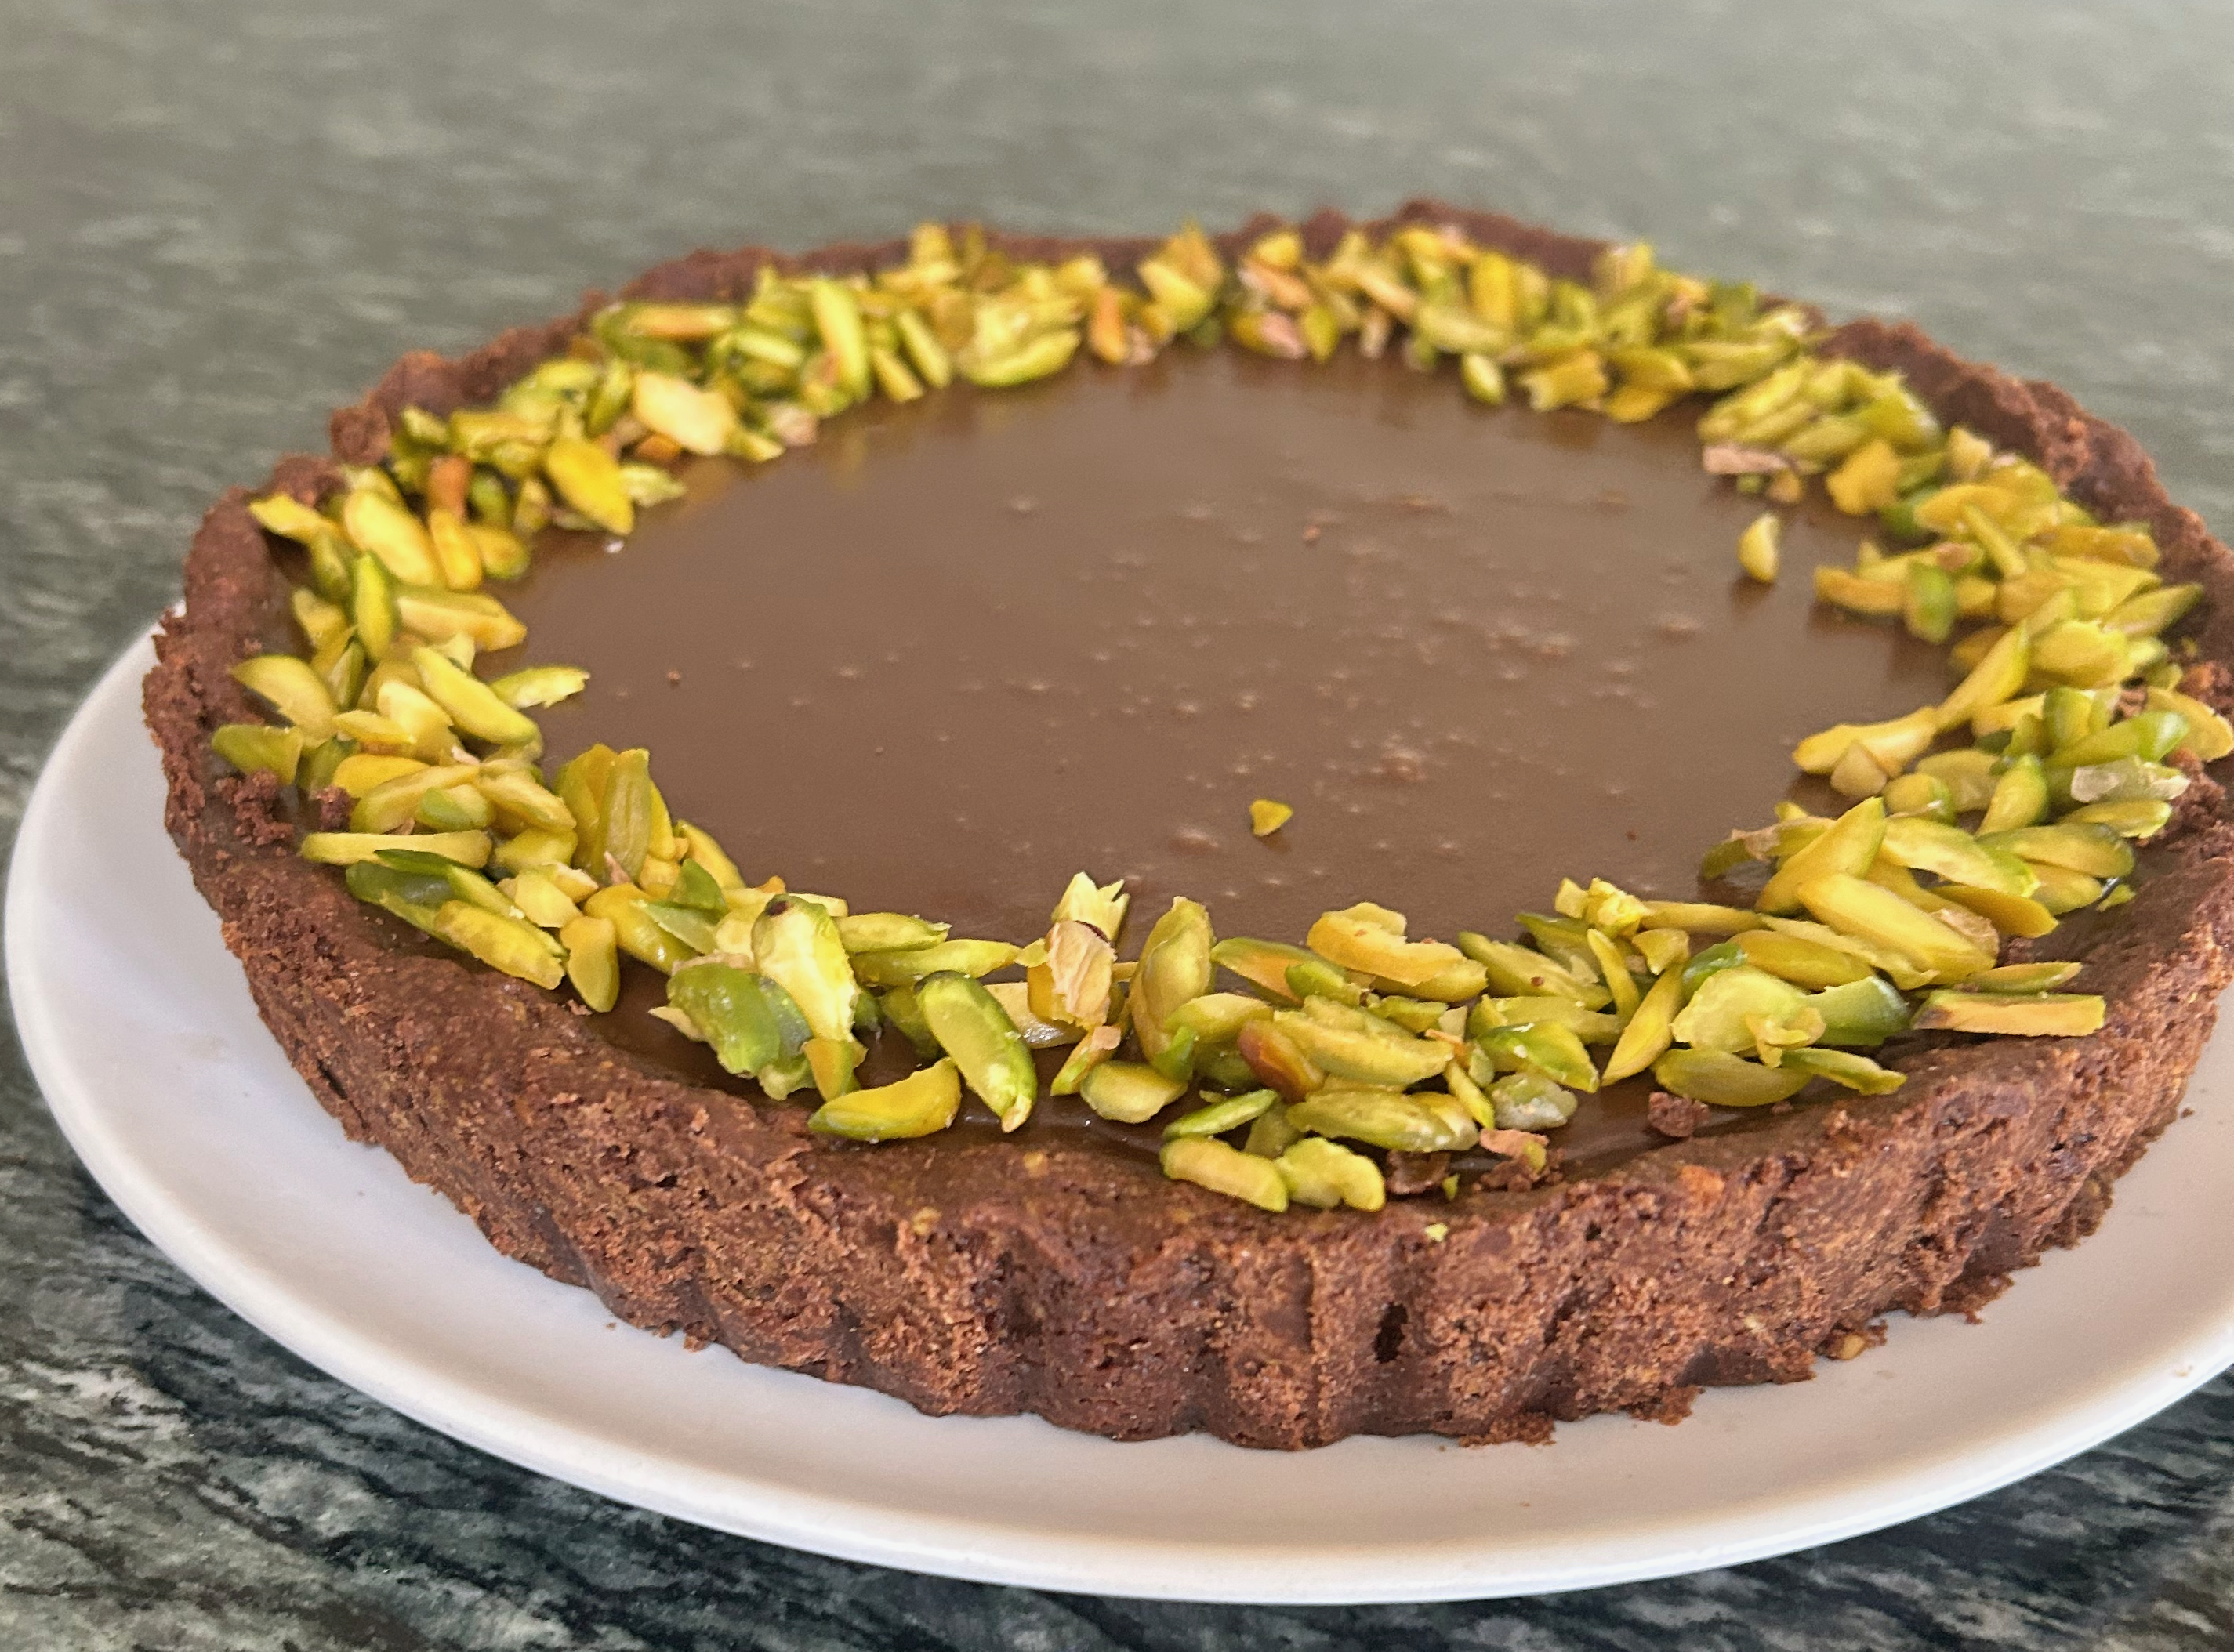
Meanwhile, whisk the cornstarch and ½ cup of heavy cream in small bowl. This premixing helps to prevent lumps in the filling. Combine cornstarch mixture, remaining heavy cream, Nutella, and salt into a saucepan over medium heat. Whisk thoroughly to combine all the ingredients into a smooth mixture. Bring the mixture to a boil while constantly whisking and allow to cook for 3 more minutes until it thickens. Remove from heat, whisk in vanilla, before pouring into the crust. Use a offset spatula to swirl a pattern in the filling.
Chill in the refrigerator overnight. Top it with reserved hazelnut for serving.
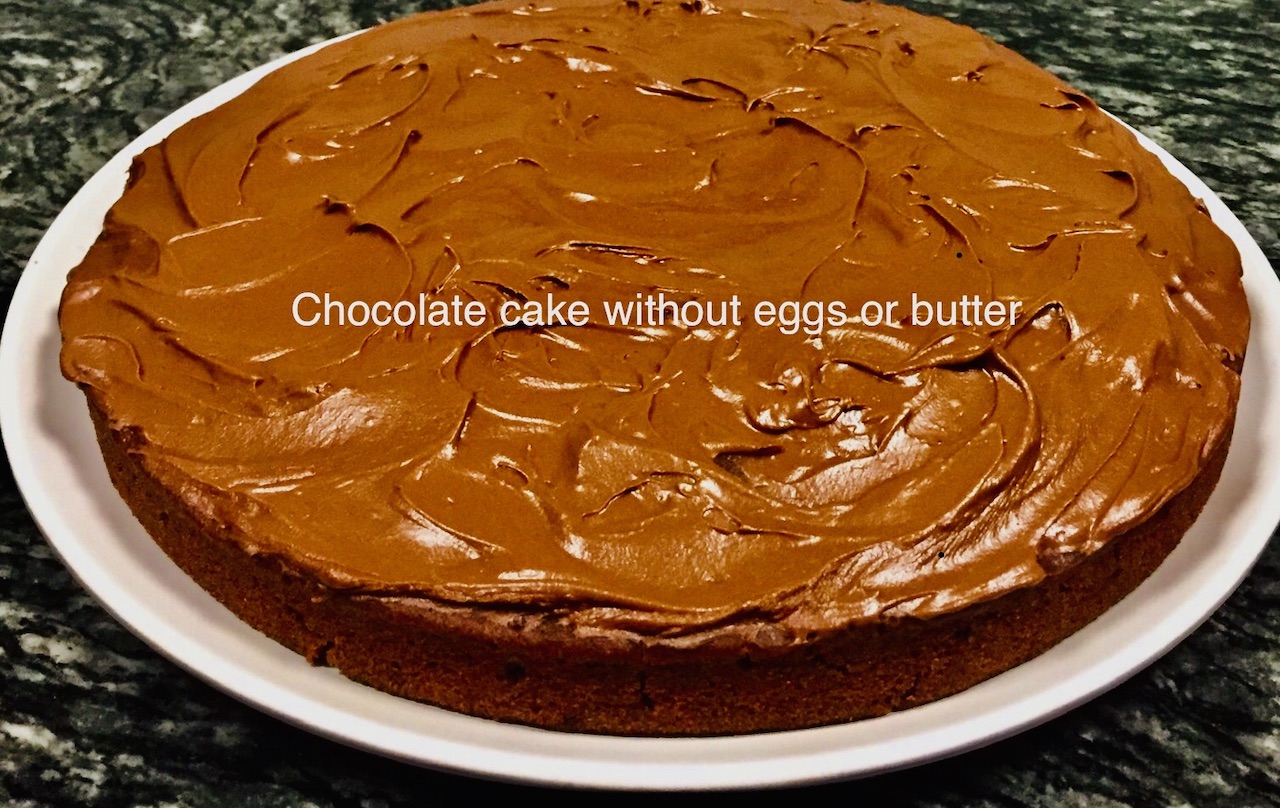
You would never know that this cake has no eggs or even butter in it. It is moist and delicious all at the same time. it is also very easy to make. Literally a one-pot dessert.
1tablespoon lemon juice (prefarabley freshly squeezed)
1teaspoon vanilla extract
Frosting ingredients:
2tablespoonssoftened butter( you can leave it out
1 cuppowdered (confectioner) sugar
1 tablespoon cocoa powder, sifted
½teaspoon vanilla extract
3tablespoon milk (more if you decide not to use butter
Equipment
9 – inch cake pan
Method
Preheat the oven to 350°F.
Grease a good cake pan well, and line it with a parchment circle to fit the bottom of the pan to prevent the cake from sticking.
Add flour, sugar, cocoa powder, and baking soda, and a pinch salt to a bowl of a food processor. Pulse a few times to incorporate ingredients and remove lumps if any.
In a large measuring jug, add water, olive oil, lemon juice, and vanilla and mix well
Add liquid ingredients to the dry ingredients in the food processor bowl.
Process to get a smooth batter. It does not take long, don't over mix.
Tranfer the batter to the prepared pan, bake in the preheated oven for 30 minutes.
Remove from the oven and let it cool competely on a rack.
Meanwhile, add the frosting ingredients; such as, softened butter, powdered sugar, cocoa, and vanilla to a large, deeper bowl to prevent powdered sugar flying around.
Use a hand held mixer to combine the ingredients, and start adding milk in ½ teapoon portions at a time until you get the desired frosting consistency.
If you dont want to use butter, increase the amount of milk. frosting takes very little liquid, so be careful. Otherwise it will turn to a glaze, which can be used but not as frosting.
Notes
Cocoa powderCocoa powder is used in a lot of chocolate baked goods. It is always confusing when some recipes call for Dutch processed and the others just say cocoa powder. Here I am going to demystify the difference between the two.During production of Dutch processed cocoa powder cocoa beans are washed in alkaline solution of potassium bicarbonate to neutralize its acidity making it unfit to react with baking soda which is also alkaline. For proper result, it has to be paired with baking powder.On the other hand, natural cocoa powder is a product of cocoa beans that is acidic, strong, and has a concentrated taste of chocolate. Because it is acidic, it is used with baking soda.In baking isles of supermarkets, the cocoa powder sold is usually natural. If the recipe simply says cocoa powder, it is natural cocoa powder and should be paired with baking soda. In most recipes this difference is not explained and results in failed recipes.